How to Make Homemade Wet Dog Food
Have you ever turned around a can of wet dog food and really checked out the ingredients? I assume that if you’re reading this blog post, you most likely read the labels of the food you purchase for yourself and your family. If that’s you, Good Job!
I am what some call a “granola bar mom” and play gatekeeper to the food that comes through the door for my family’s consumption. (My daughter probably thinks I’m more of a troll guarding the toll bridge, but…Teenagers). I make sure that what we put into our body is going to fuel our bodies for the right reasons, not harm them. This form of thinking stemmed from college and my Environmental Crime class, but is most likely a side effect of my Crohn’s Disease.
Although I am super strict with my family, I’m embarrassed to say that until recently, I never read the pet food labels of our furry family members. But after the research my daughter conducted, I do now.
And so should you.
Oscar with his little bandanna/bib, ready to enjoy his homemade wet food.
Our smallest dog in our pack of three has congestive heart failure with an enlarged heart and spleen. We had been working alongside our vets for over a year with multiple appointments and changes to his medication. Still, our dog was struggling, and my daughter was desperate to help him. So she took it upon herself to research how she could extend his life. Can you guess what she researched first?
If you answered dog food, give yourself a pat on the back!
My daughter recently found a study conducted by the FDA that showcased a compilation of evidence that grain free diets for dogs are NOT as healthy as once advertised. That along with feeding dogs certain vegetables, notably peas, can cause canine dilated cardiomyopathy. You can find the full study here. So after doing her research, my teenager decided we needed to switch our dog food. We had been feeding our dogs grain free dog food since it became a thing all these years ago. Who knows if that had contributed to Oscar’s heart disease? But what we did know, was that since we educated ourselves, there was no turning back.
So we headed to the pet store and read every label of dry dog food. We settled on this food below, as it was the only one in the store that was not grain free and did not contain peas. (We live on a small island). Our dogs might not be as active as the bag says they need to be, but they are happy with the switch and so are we.
Alright, the dry food was changed, but what about the wet food?
We give our dogs predominately dry food but would split a large can of wet food three ways as a topping to their evening meals. My daughter told me that she wanted to discontinue feeding them store bought wet food, and she wanted to make their wet food moving forward. She gave me all the reasons in the book as to why we needed to make their food. I was listening, but also secretly rolling my eyes, as that meant I would ultimately be the one making it.
So, after hearing her out, we went to the pantry and checked the label of the Pedigree wet food. It contained a lot of junk ingredients, fillers, and just nasty stuff. I felt slightly embarrassed that I was feeding it to my dogs. My teenager was right (don’t tell her I told you). It was time for a switch. I vowed to her that since we were already on route to healthier dogs, that this was the last time we would ever bring canned dog food into the house again.
Not the most appetizing mixture in this canned dog food. Making your own is not only better for your dog, but more economical for you!
We played around with a couple of recipes we found online and came up with this version. This recipe is for 3 dogs and will last us 5-6 days as we only add a small amount (1/3 cup or so) to each bowl. You can always take what you need and freeze the rest in individual portions for later use.
I’m also happy to report that our dog Oscar is doing great since we switched his food. He used to always have skin problems (on top of everything else) and his coat has been great since making our own wet food. He has energy to run from my son and bark at intruding iguanas. The other dogs are happy too! Maybe this little switch will help continue to extend his life.
Here is our recipe for Homemade Wet Dog Food. Not only is it better for our dogs than the typical canned goop, but it’s more economical and I usually always have the ingredients on hand. (Double Win)! All of the ingredients can be consumed by not only your dogs, but by yourself or kids too. My toddler LOVES when we make dog food because he likes to “help” and eat some for a snack or lunch that day.
Never in my life did I think I would let my kids eat dog food, but this is so fresh, anyone can dig in.
Homemade Wet Dog Food Recipe
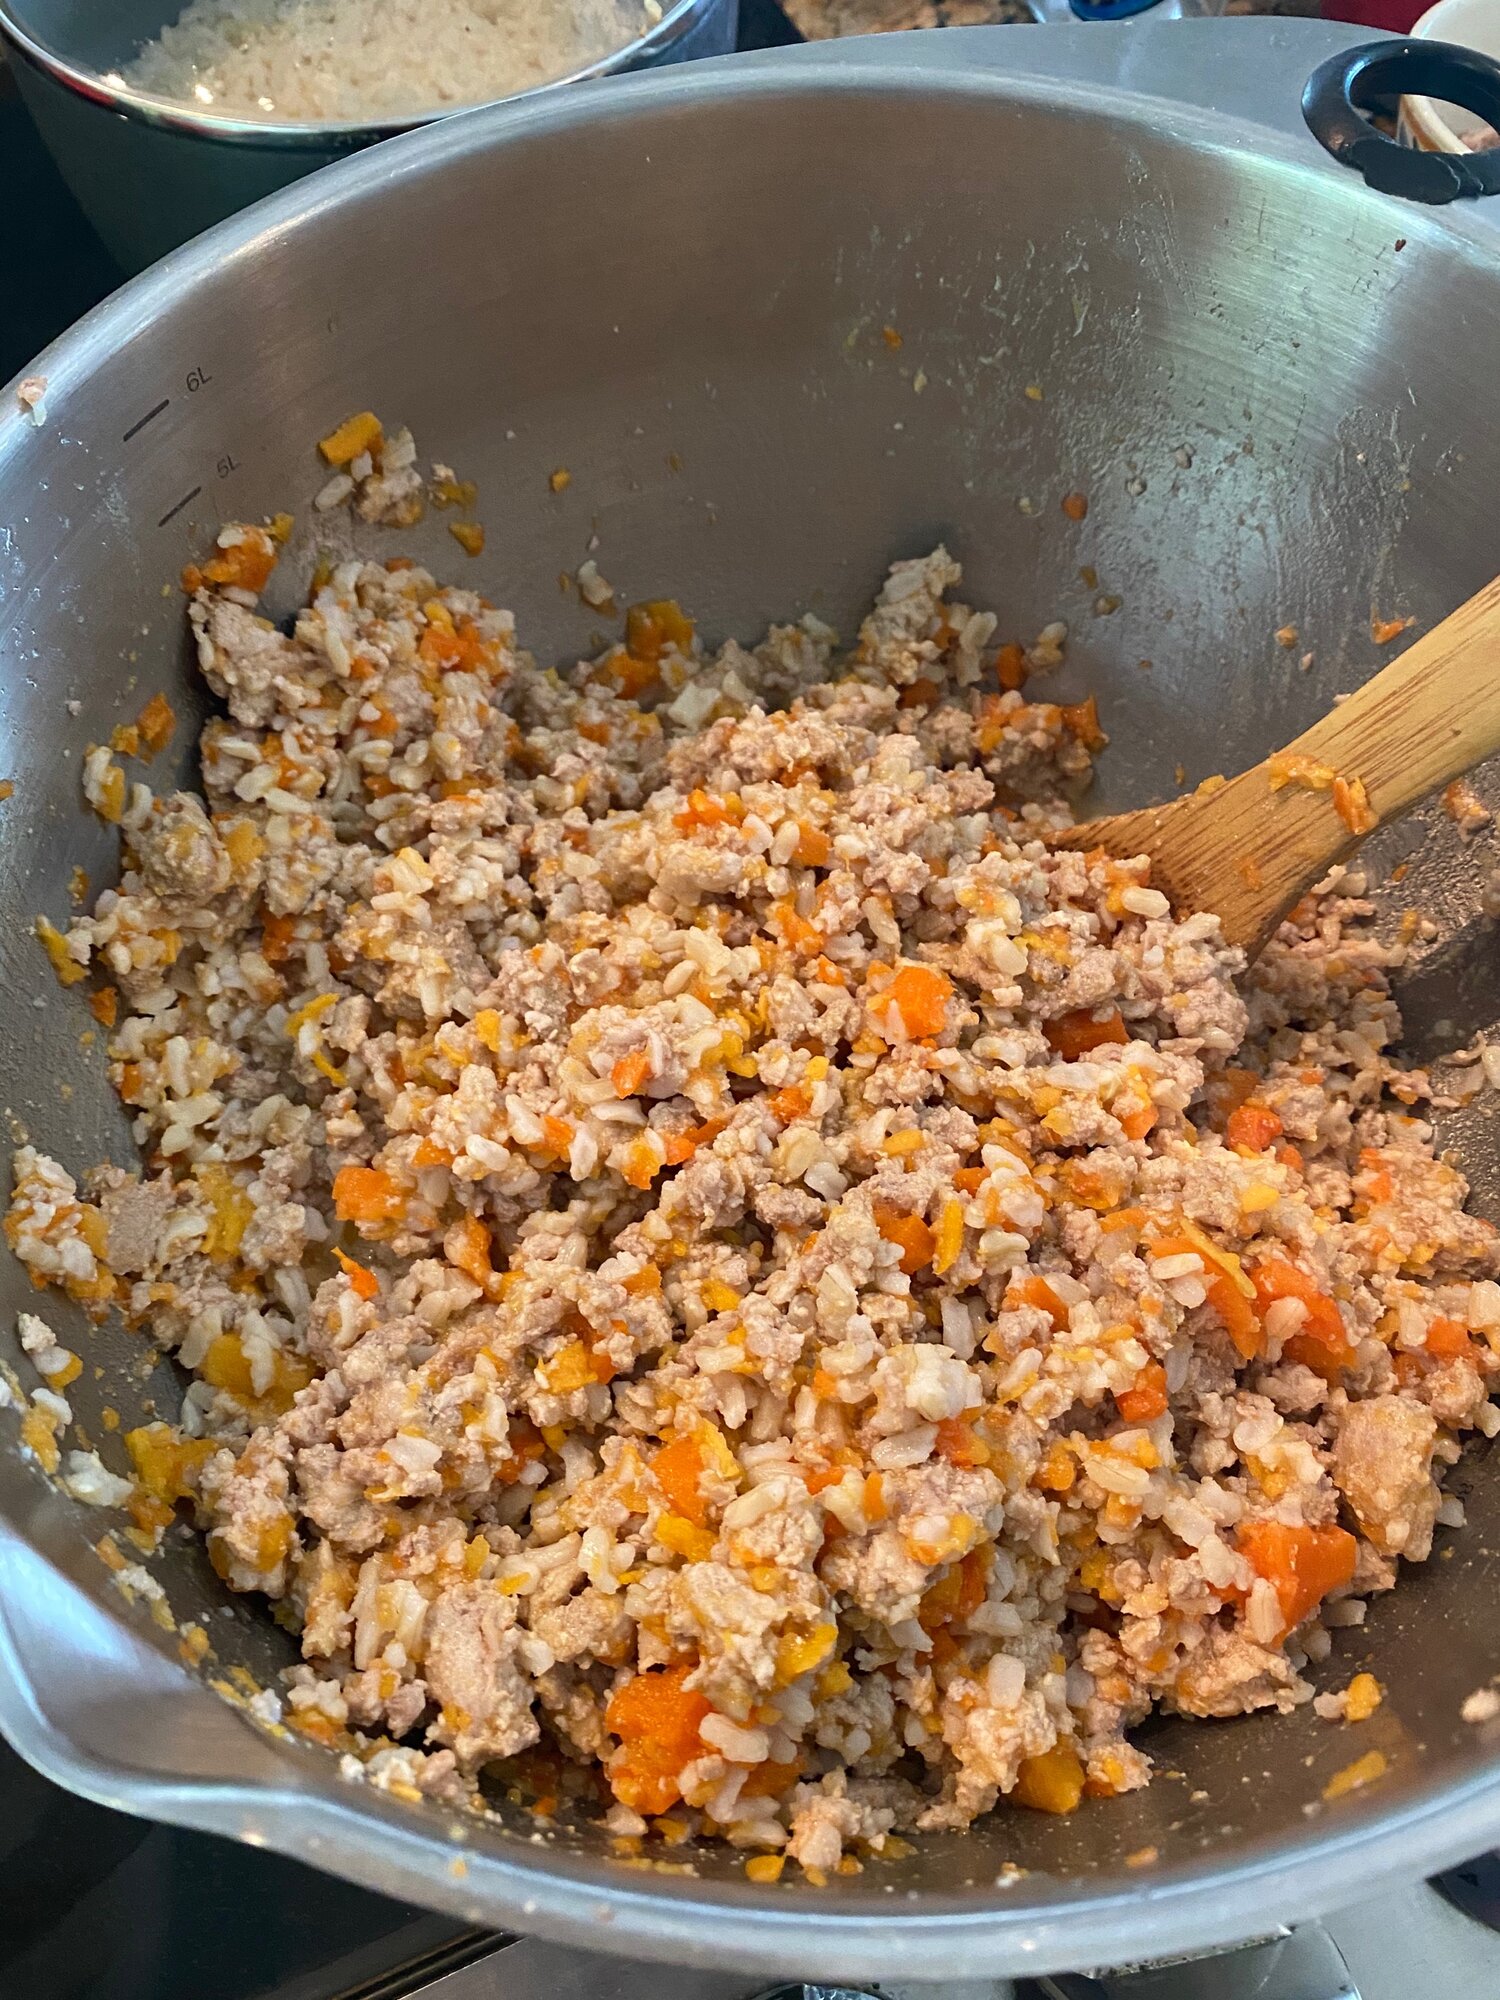
Homemade Wet Dog Food
Ingredients:
- 3 lbs of ground turkey
- 3-4 medium carrots
- 1 small sweet potato
- 3 cups cooked brown rice (cook according to your brand)
- Water
- 3 TBS Coconut oil
- Large Frying Pan, Knife and Cutting Board, Pot and Lid, Large Spoon, Large Bowl, Potato Masher or Fork, 2.8 Qt. or larger Storage Container, Béaba Baby Cook (optional)
Instructions:
- Start your brown rice according to your package using only water. (Do not add any salt or butter as suggested by the package). I will add at least ¼ to ½ cup extra water than the package requires to make the rice softer for the dogs.
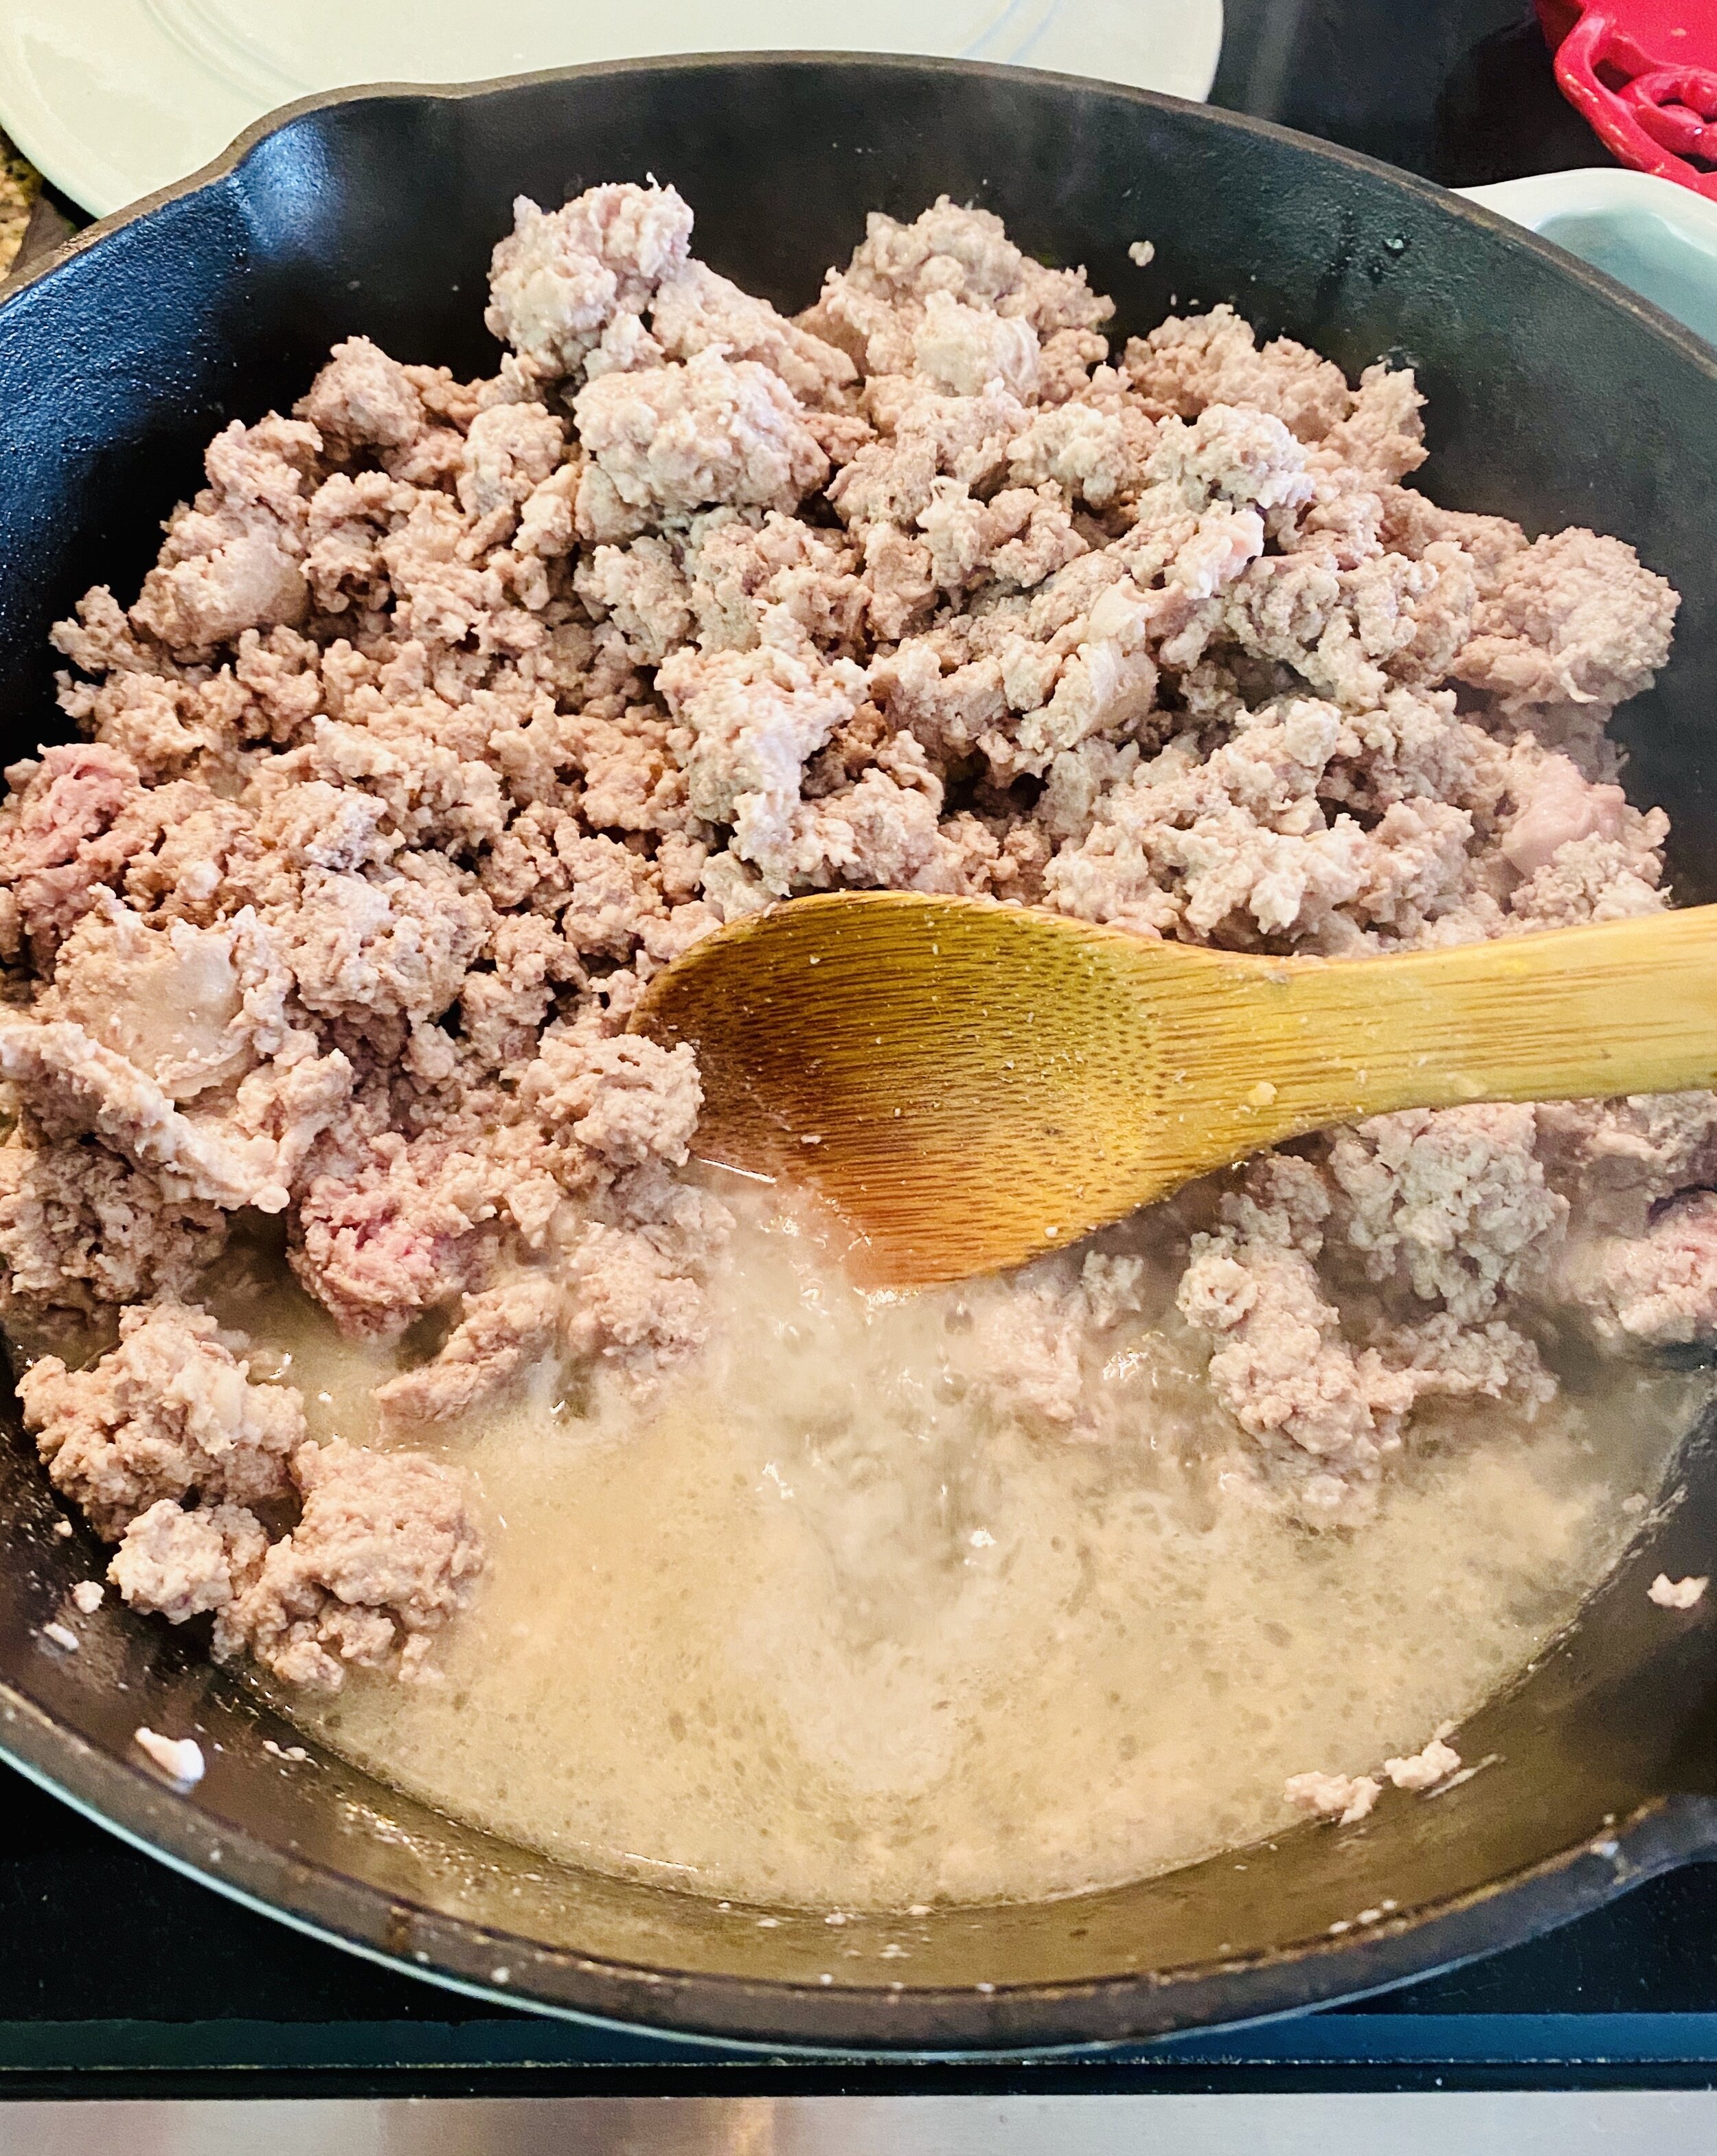
- Add coconut oil to a large skillet over medium-high heat. Add ground turkey and cook through breaking up any large pieces as you cook.
- While turkey is cooking, peel and dice your carrots and sweet potatoes.
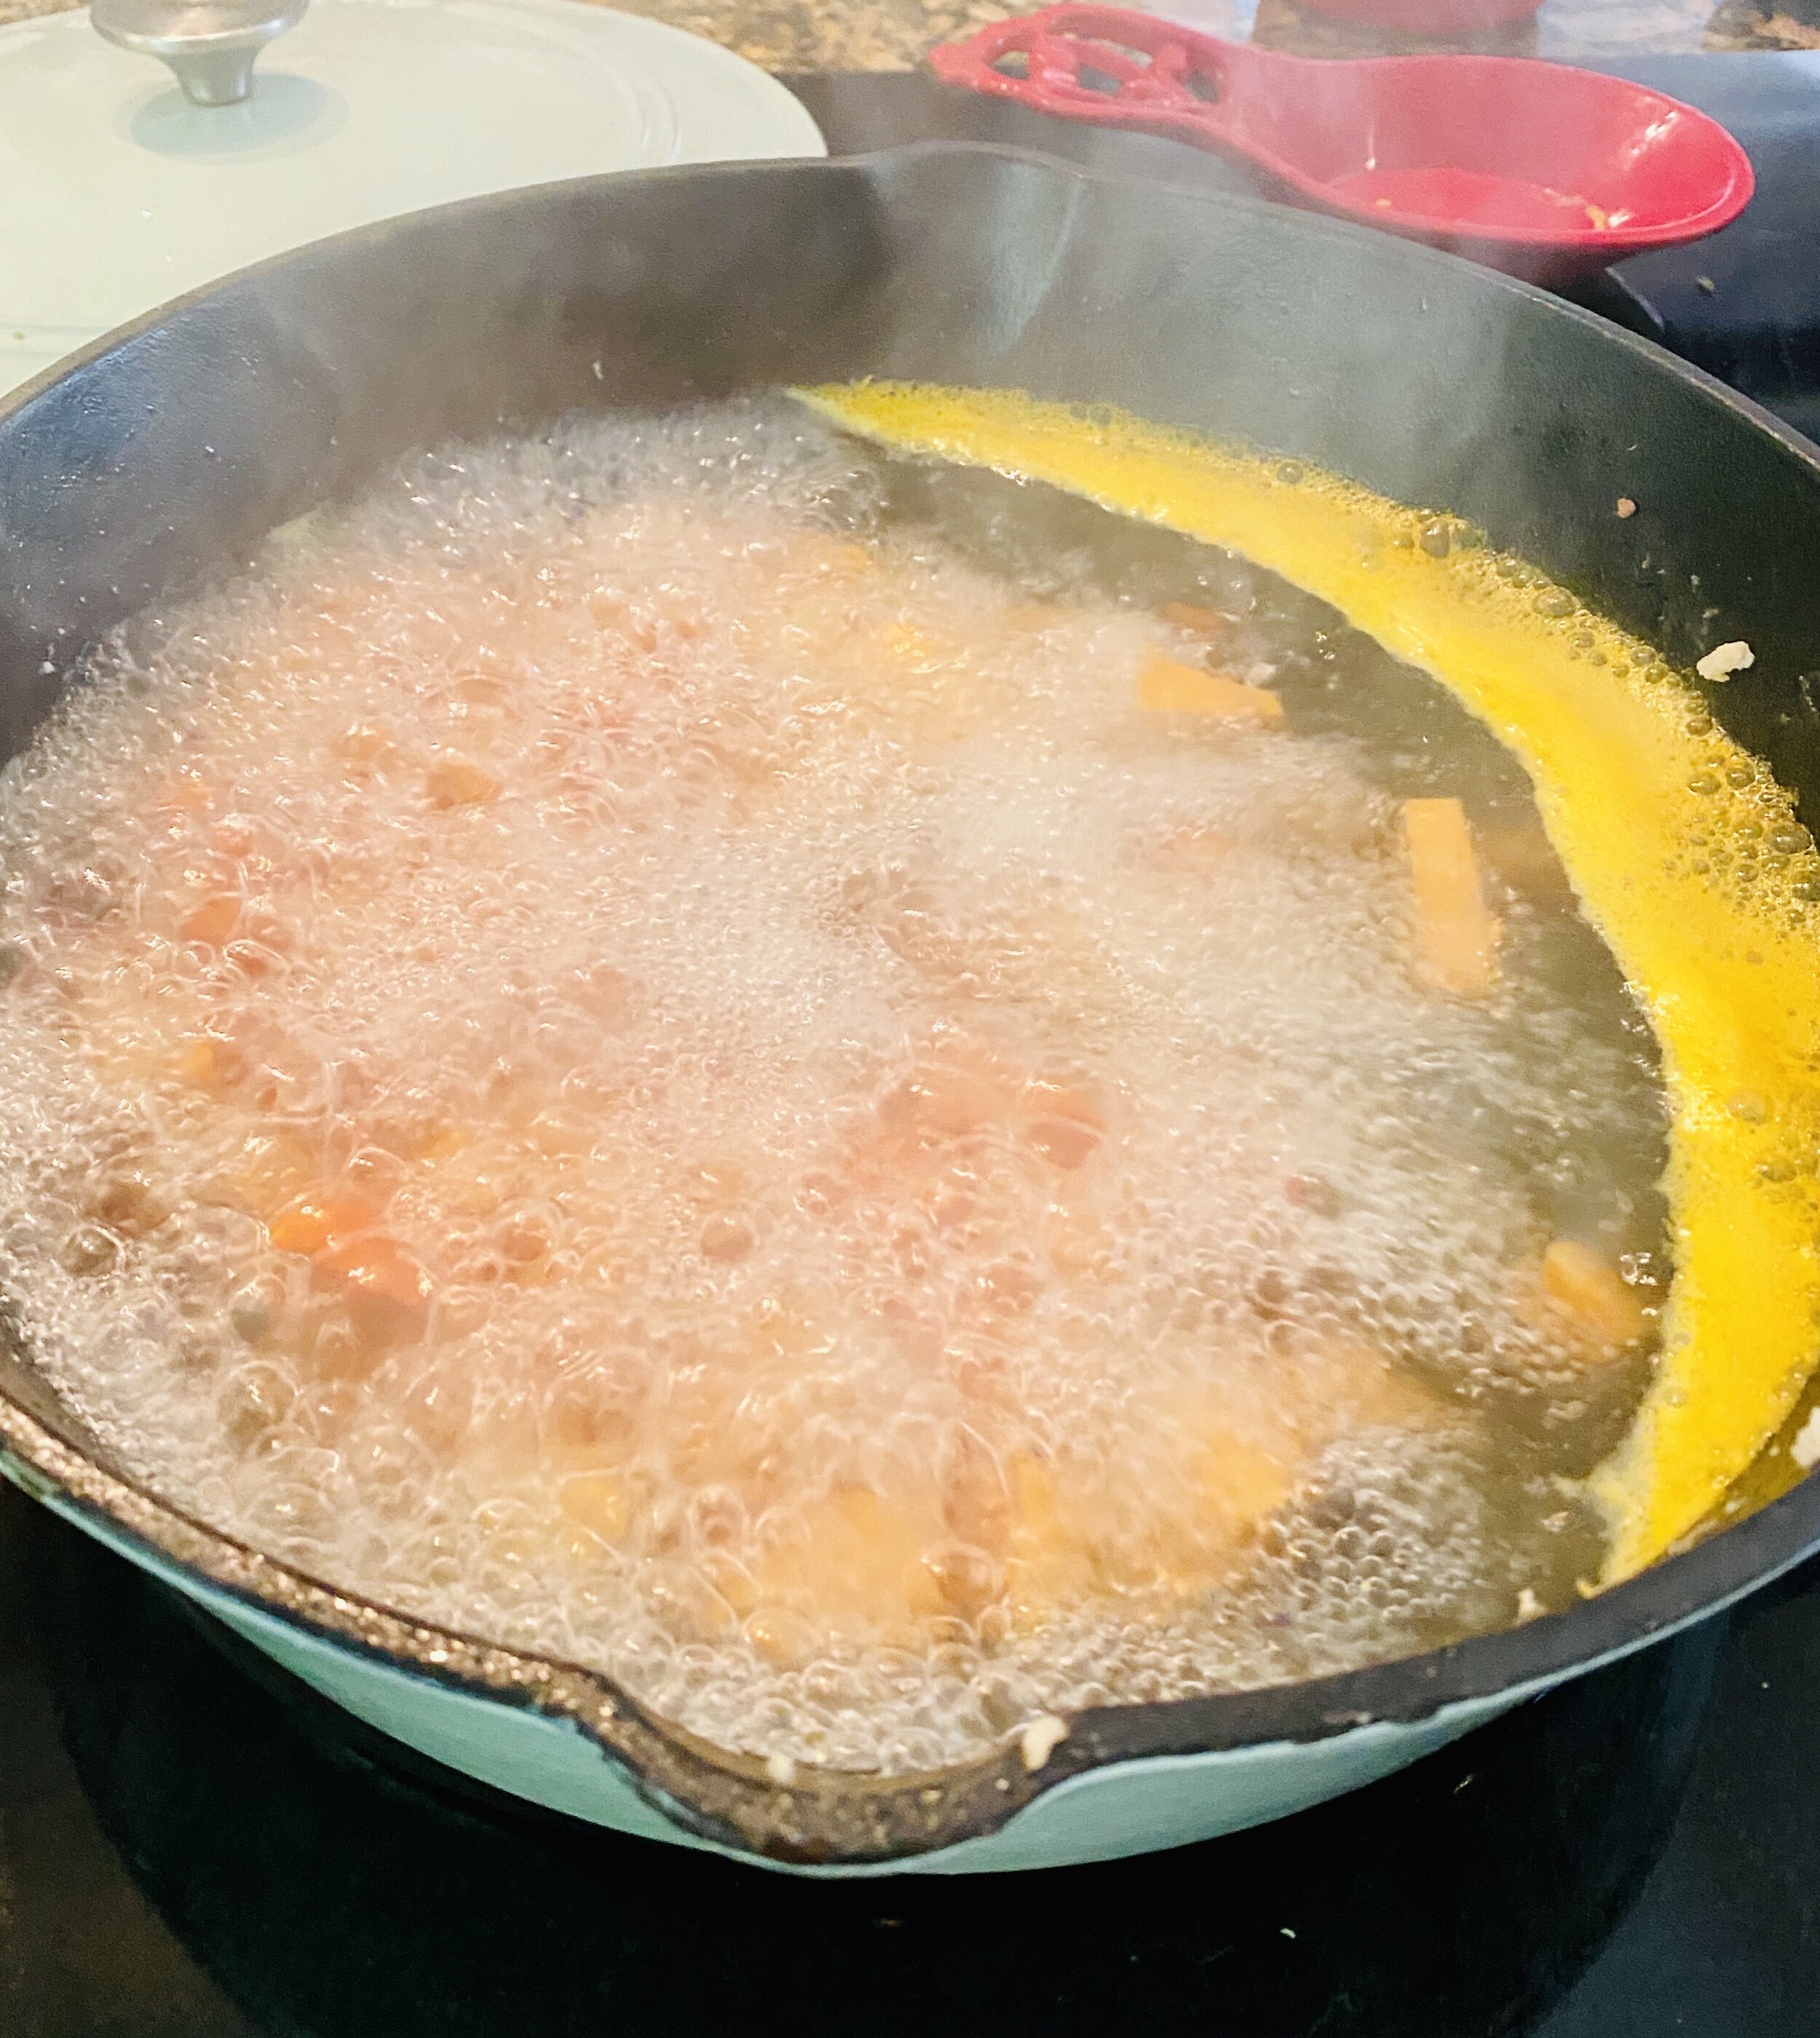
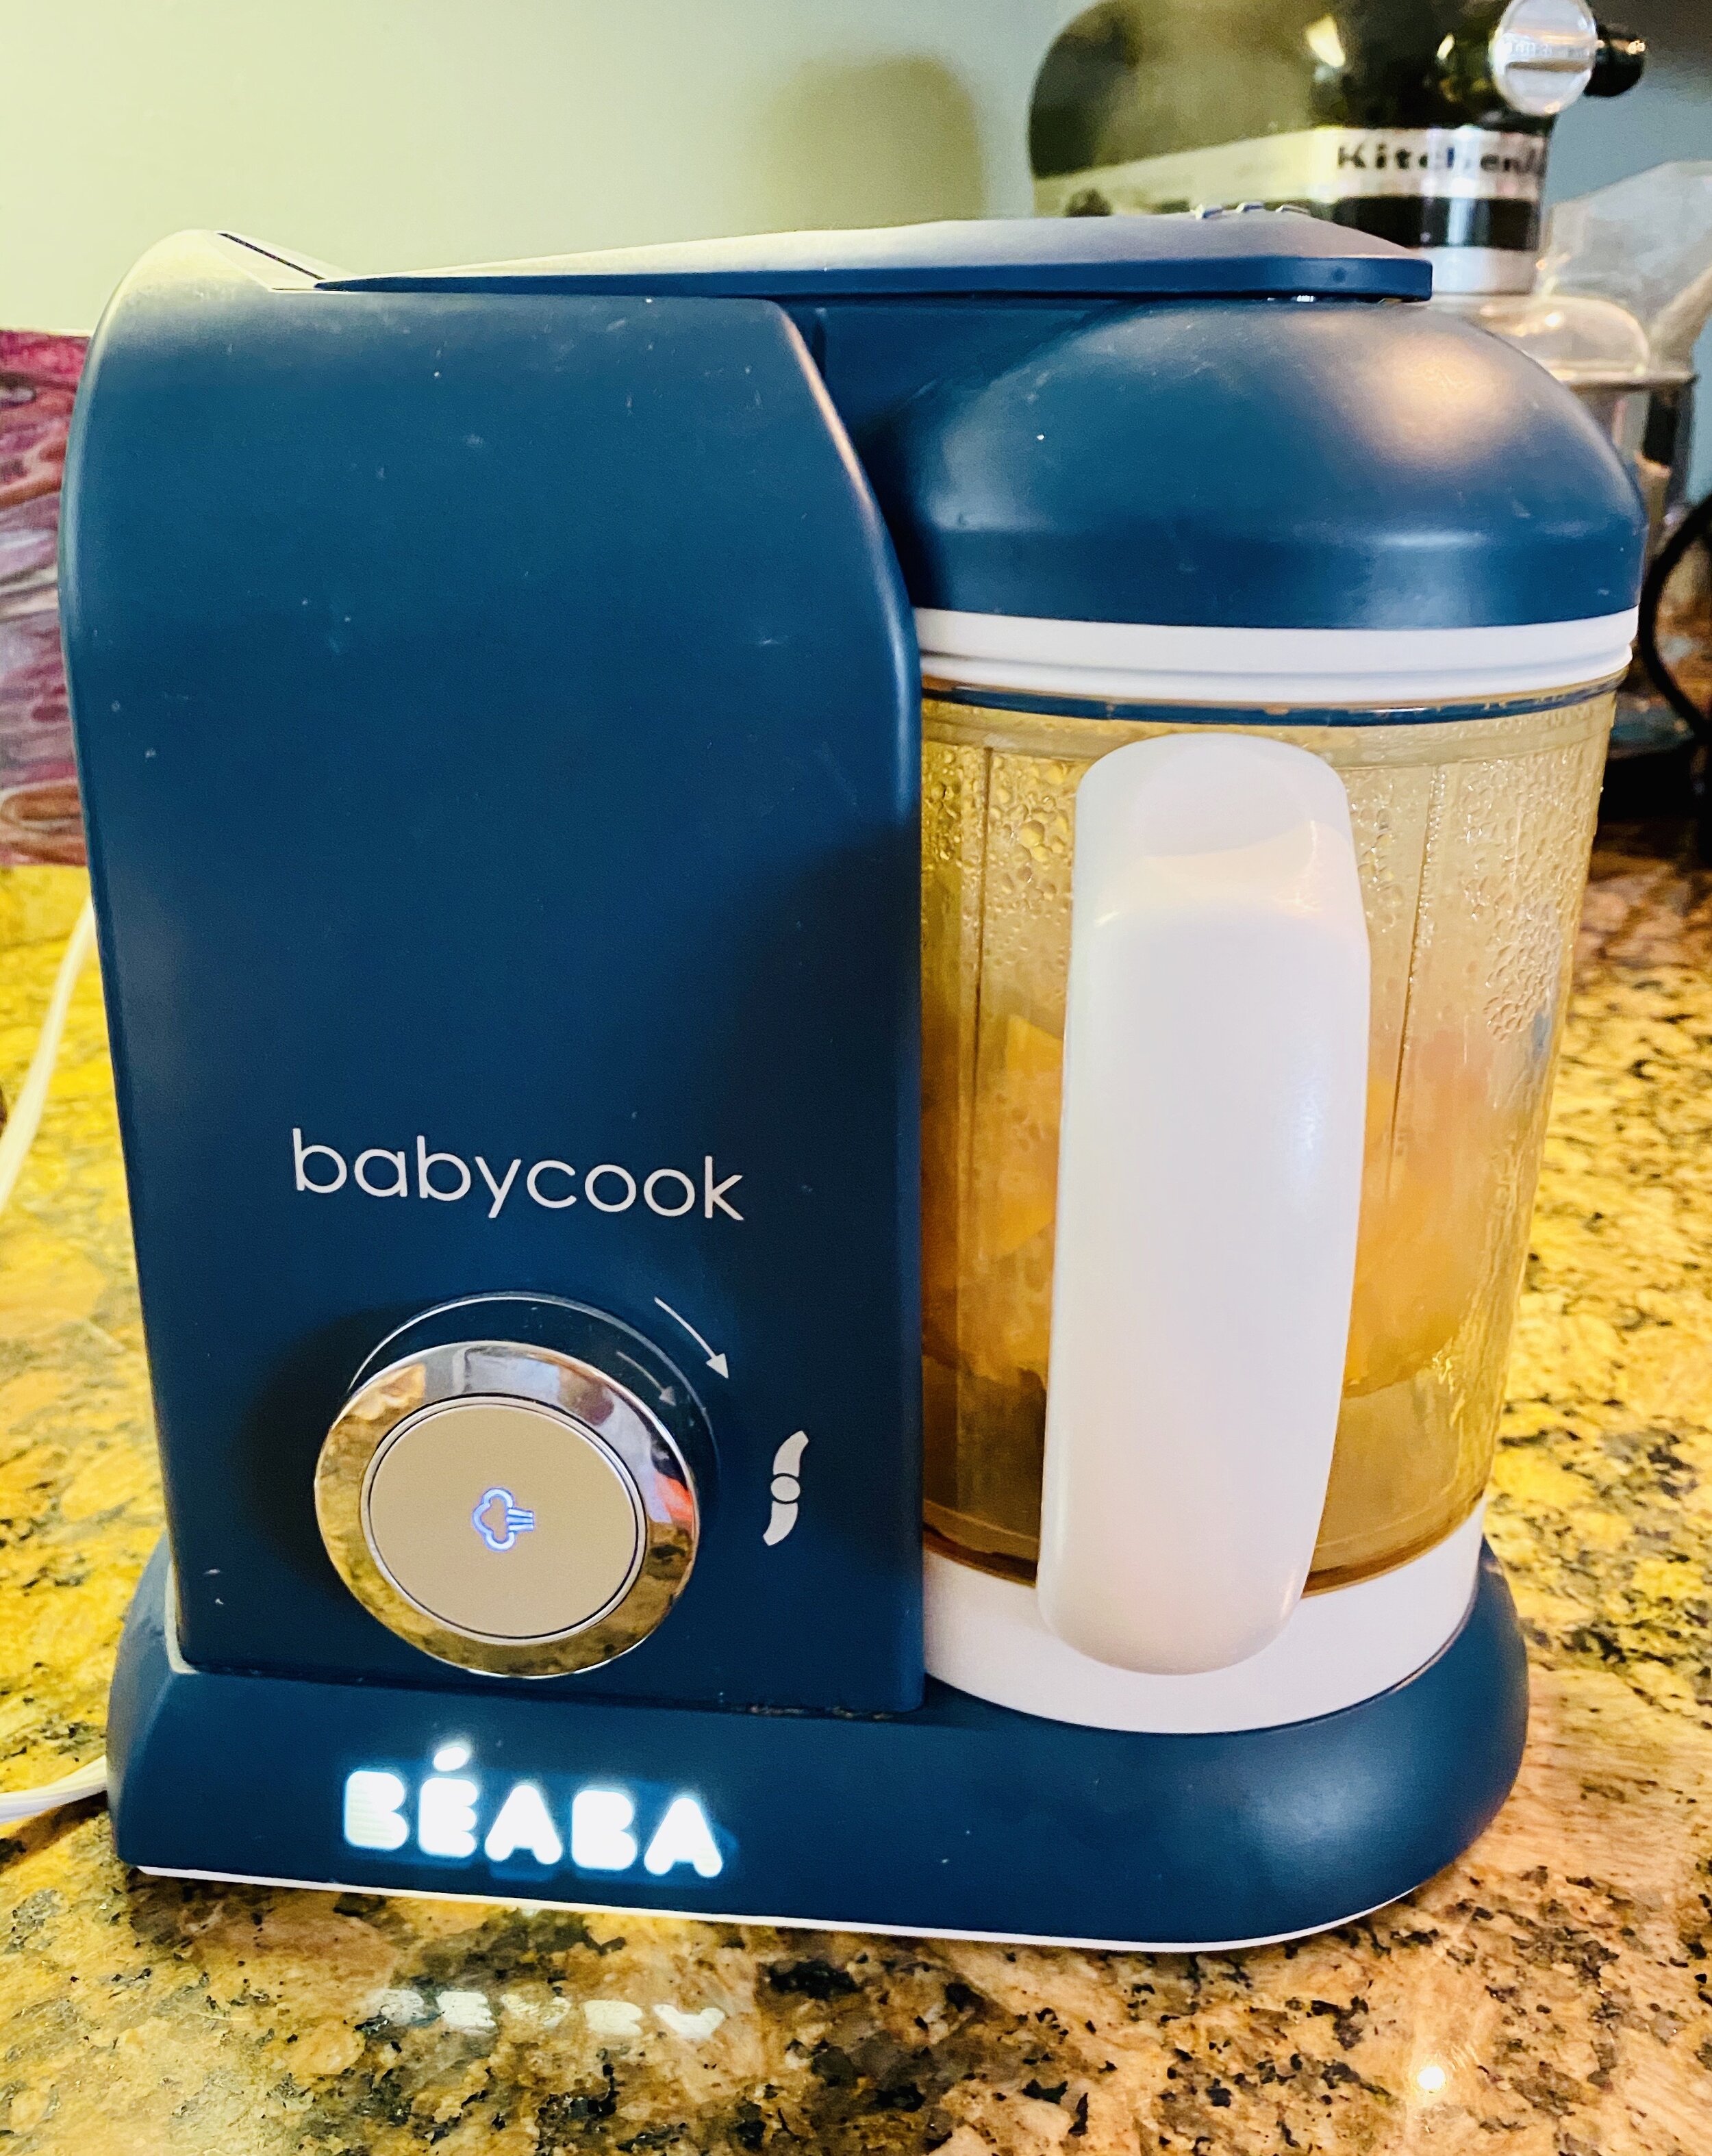
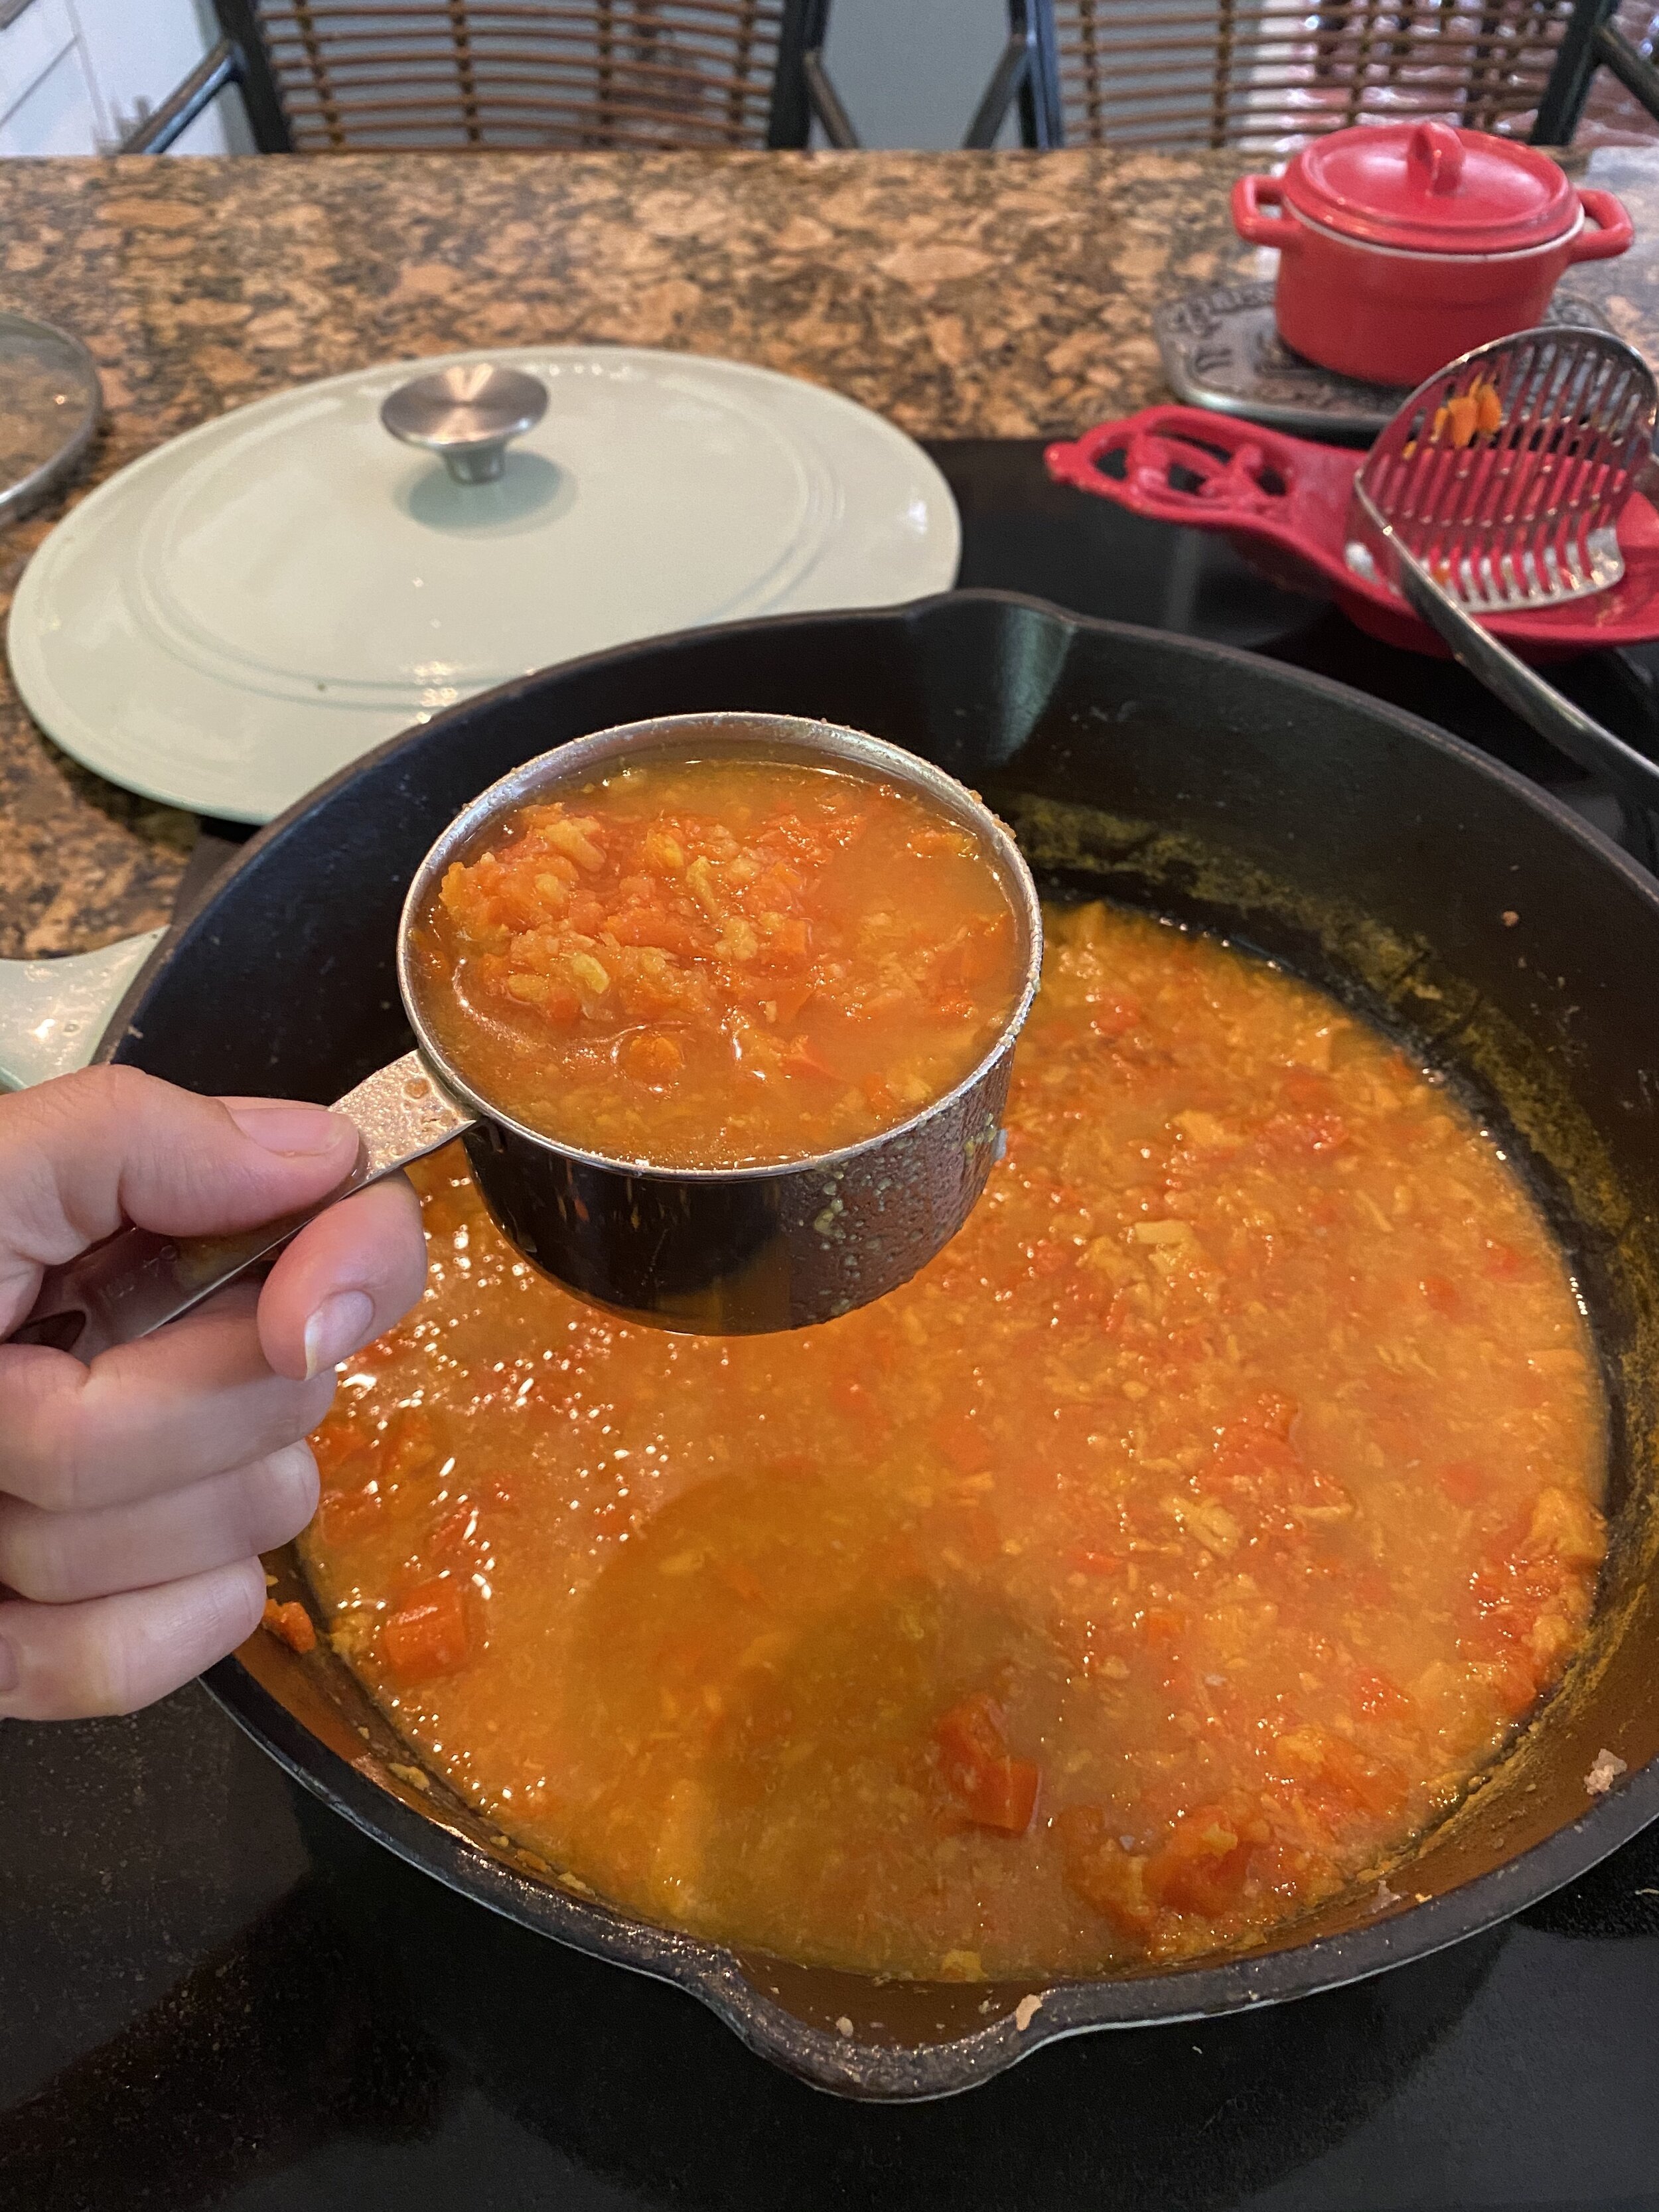
- Remove cooked turkey from pan along with juices and place in a large bowl. Using the same pan the turkey was cooked in, add the carrots and sweet potatoes and add enough water to cover. Bring the vegetables to a boil, and then simmer until soft (around 12-14 minutes). If you have a Béaba Baby Cook, you can also use it to cook your vegetables.
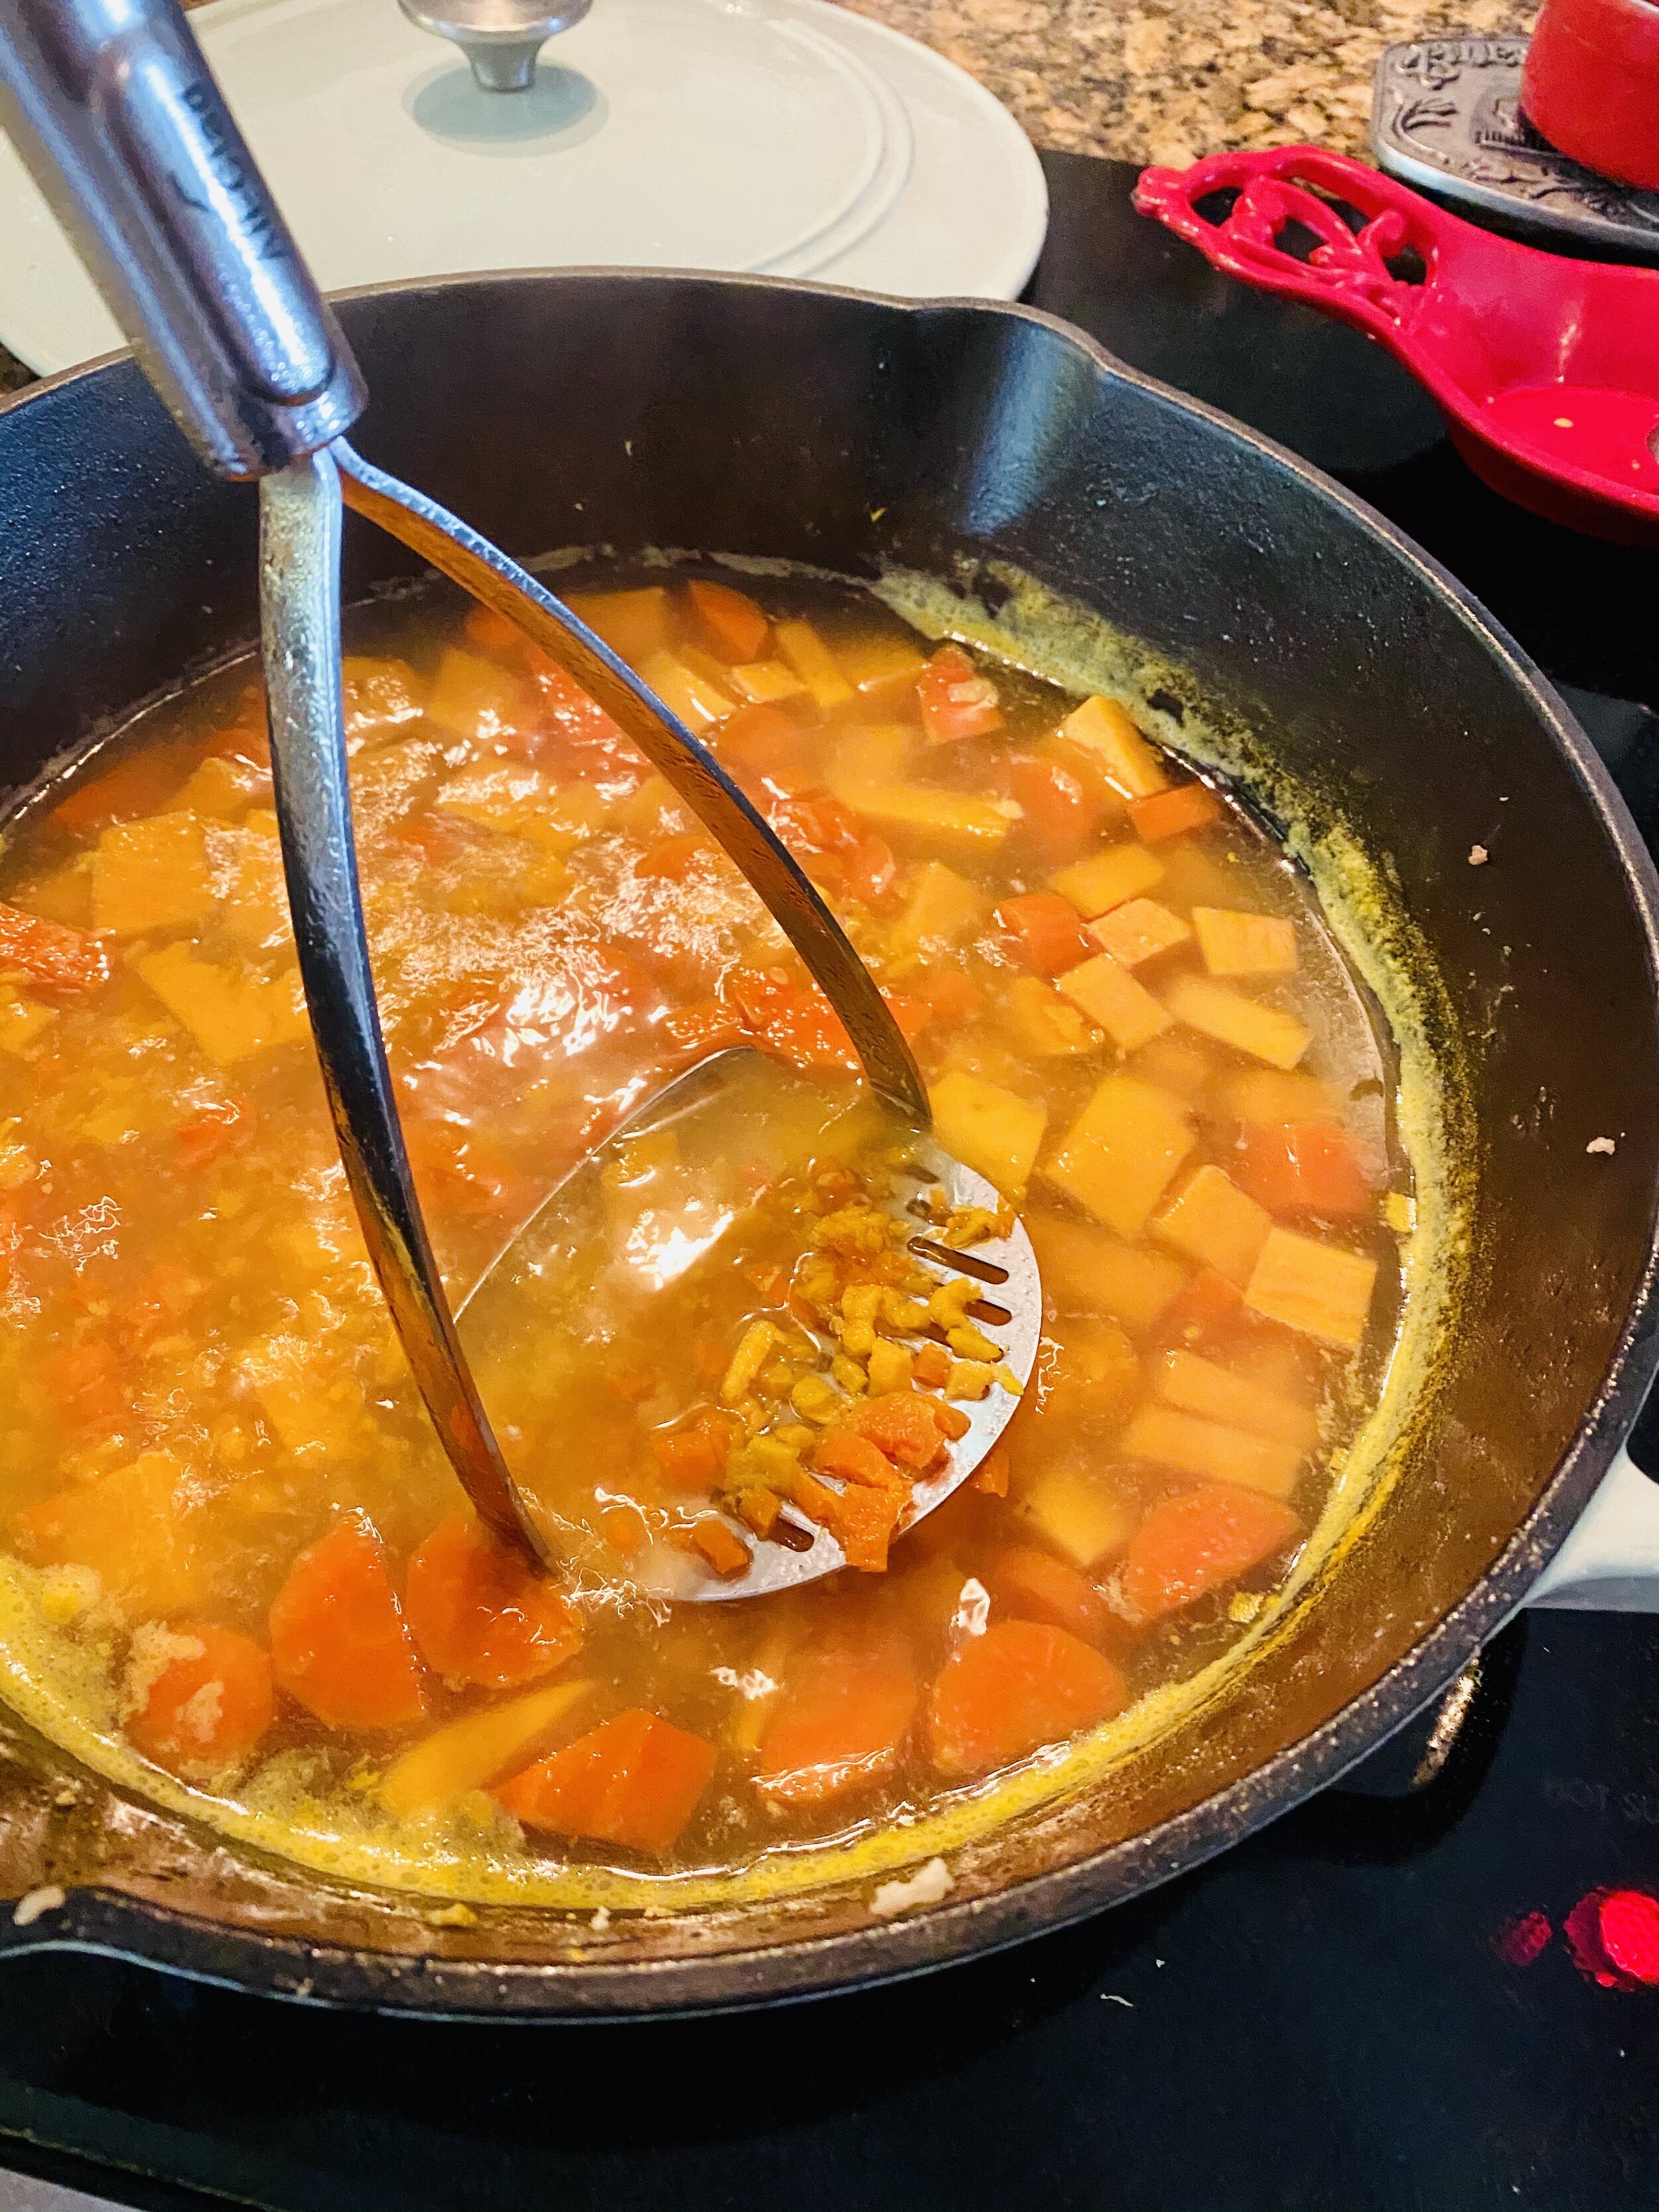
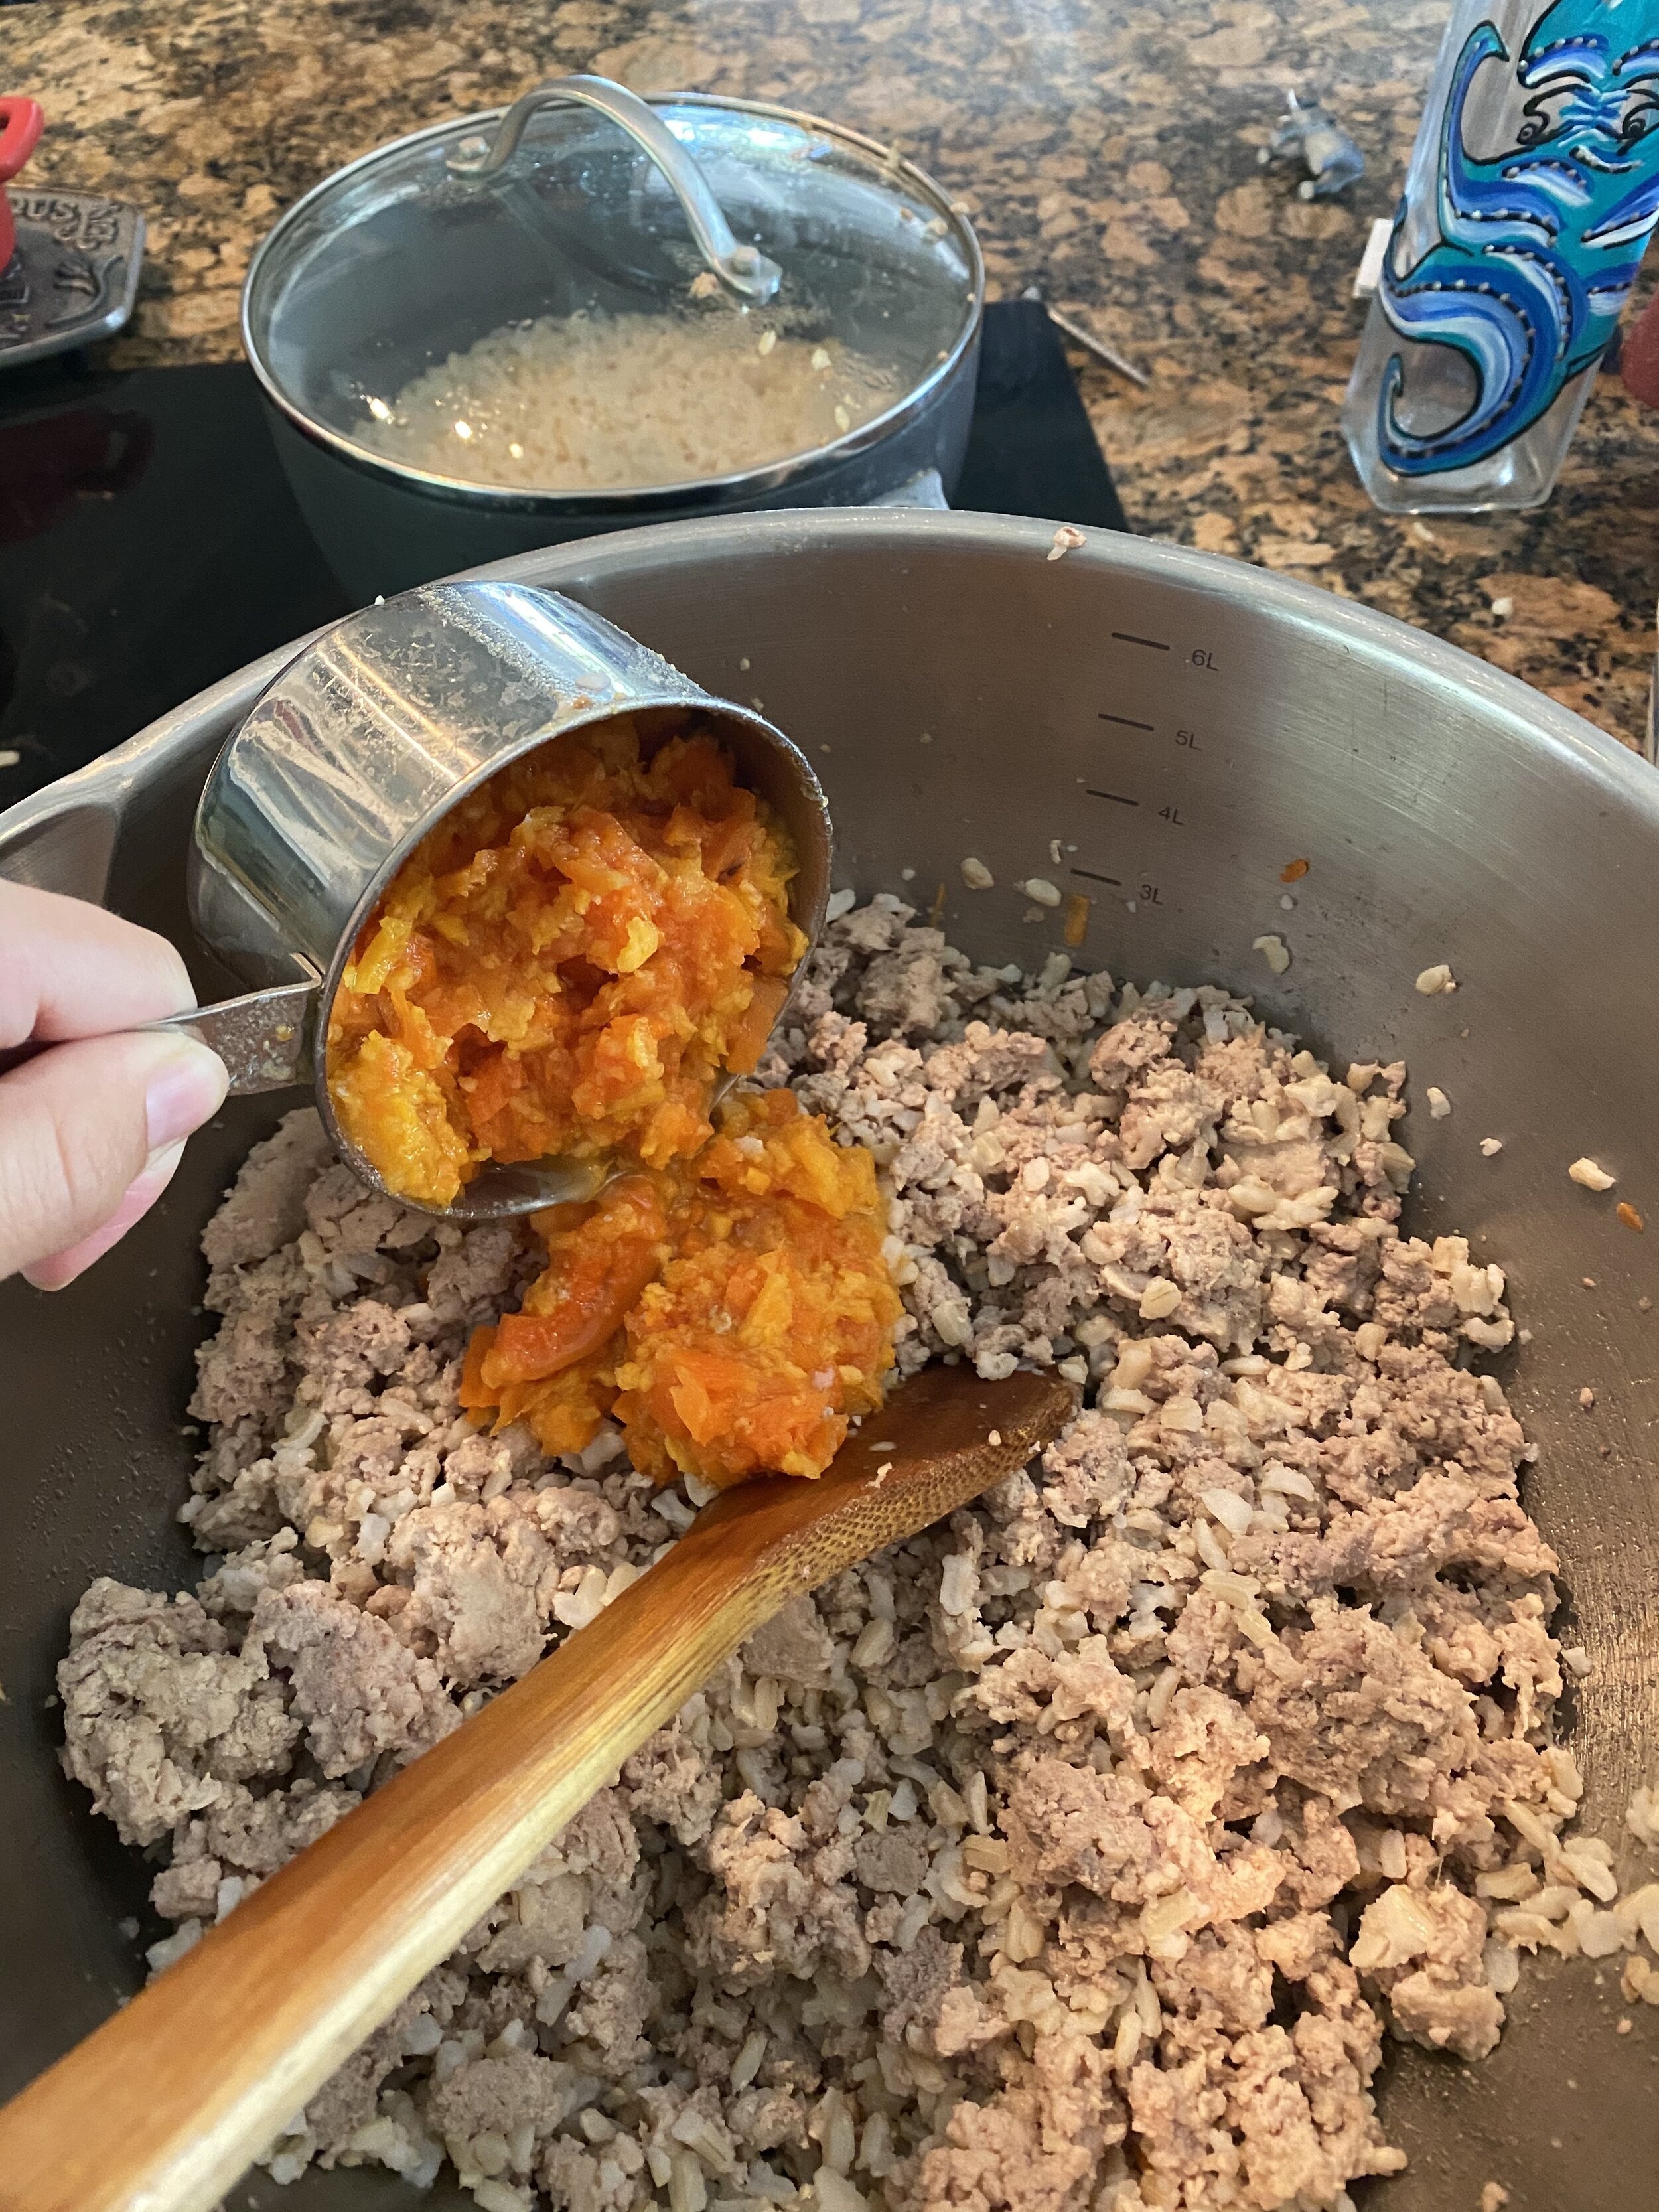
- Using a potato masher, smash the vegetables into smaller pieces. Add to the large bowl containing the turkey. This should be about 1.2-2 cup vegetables.
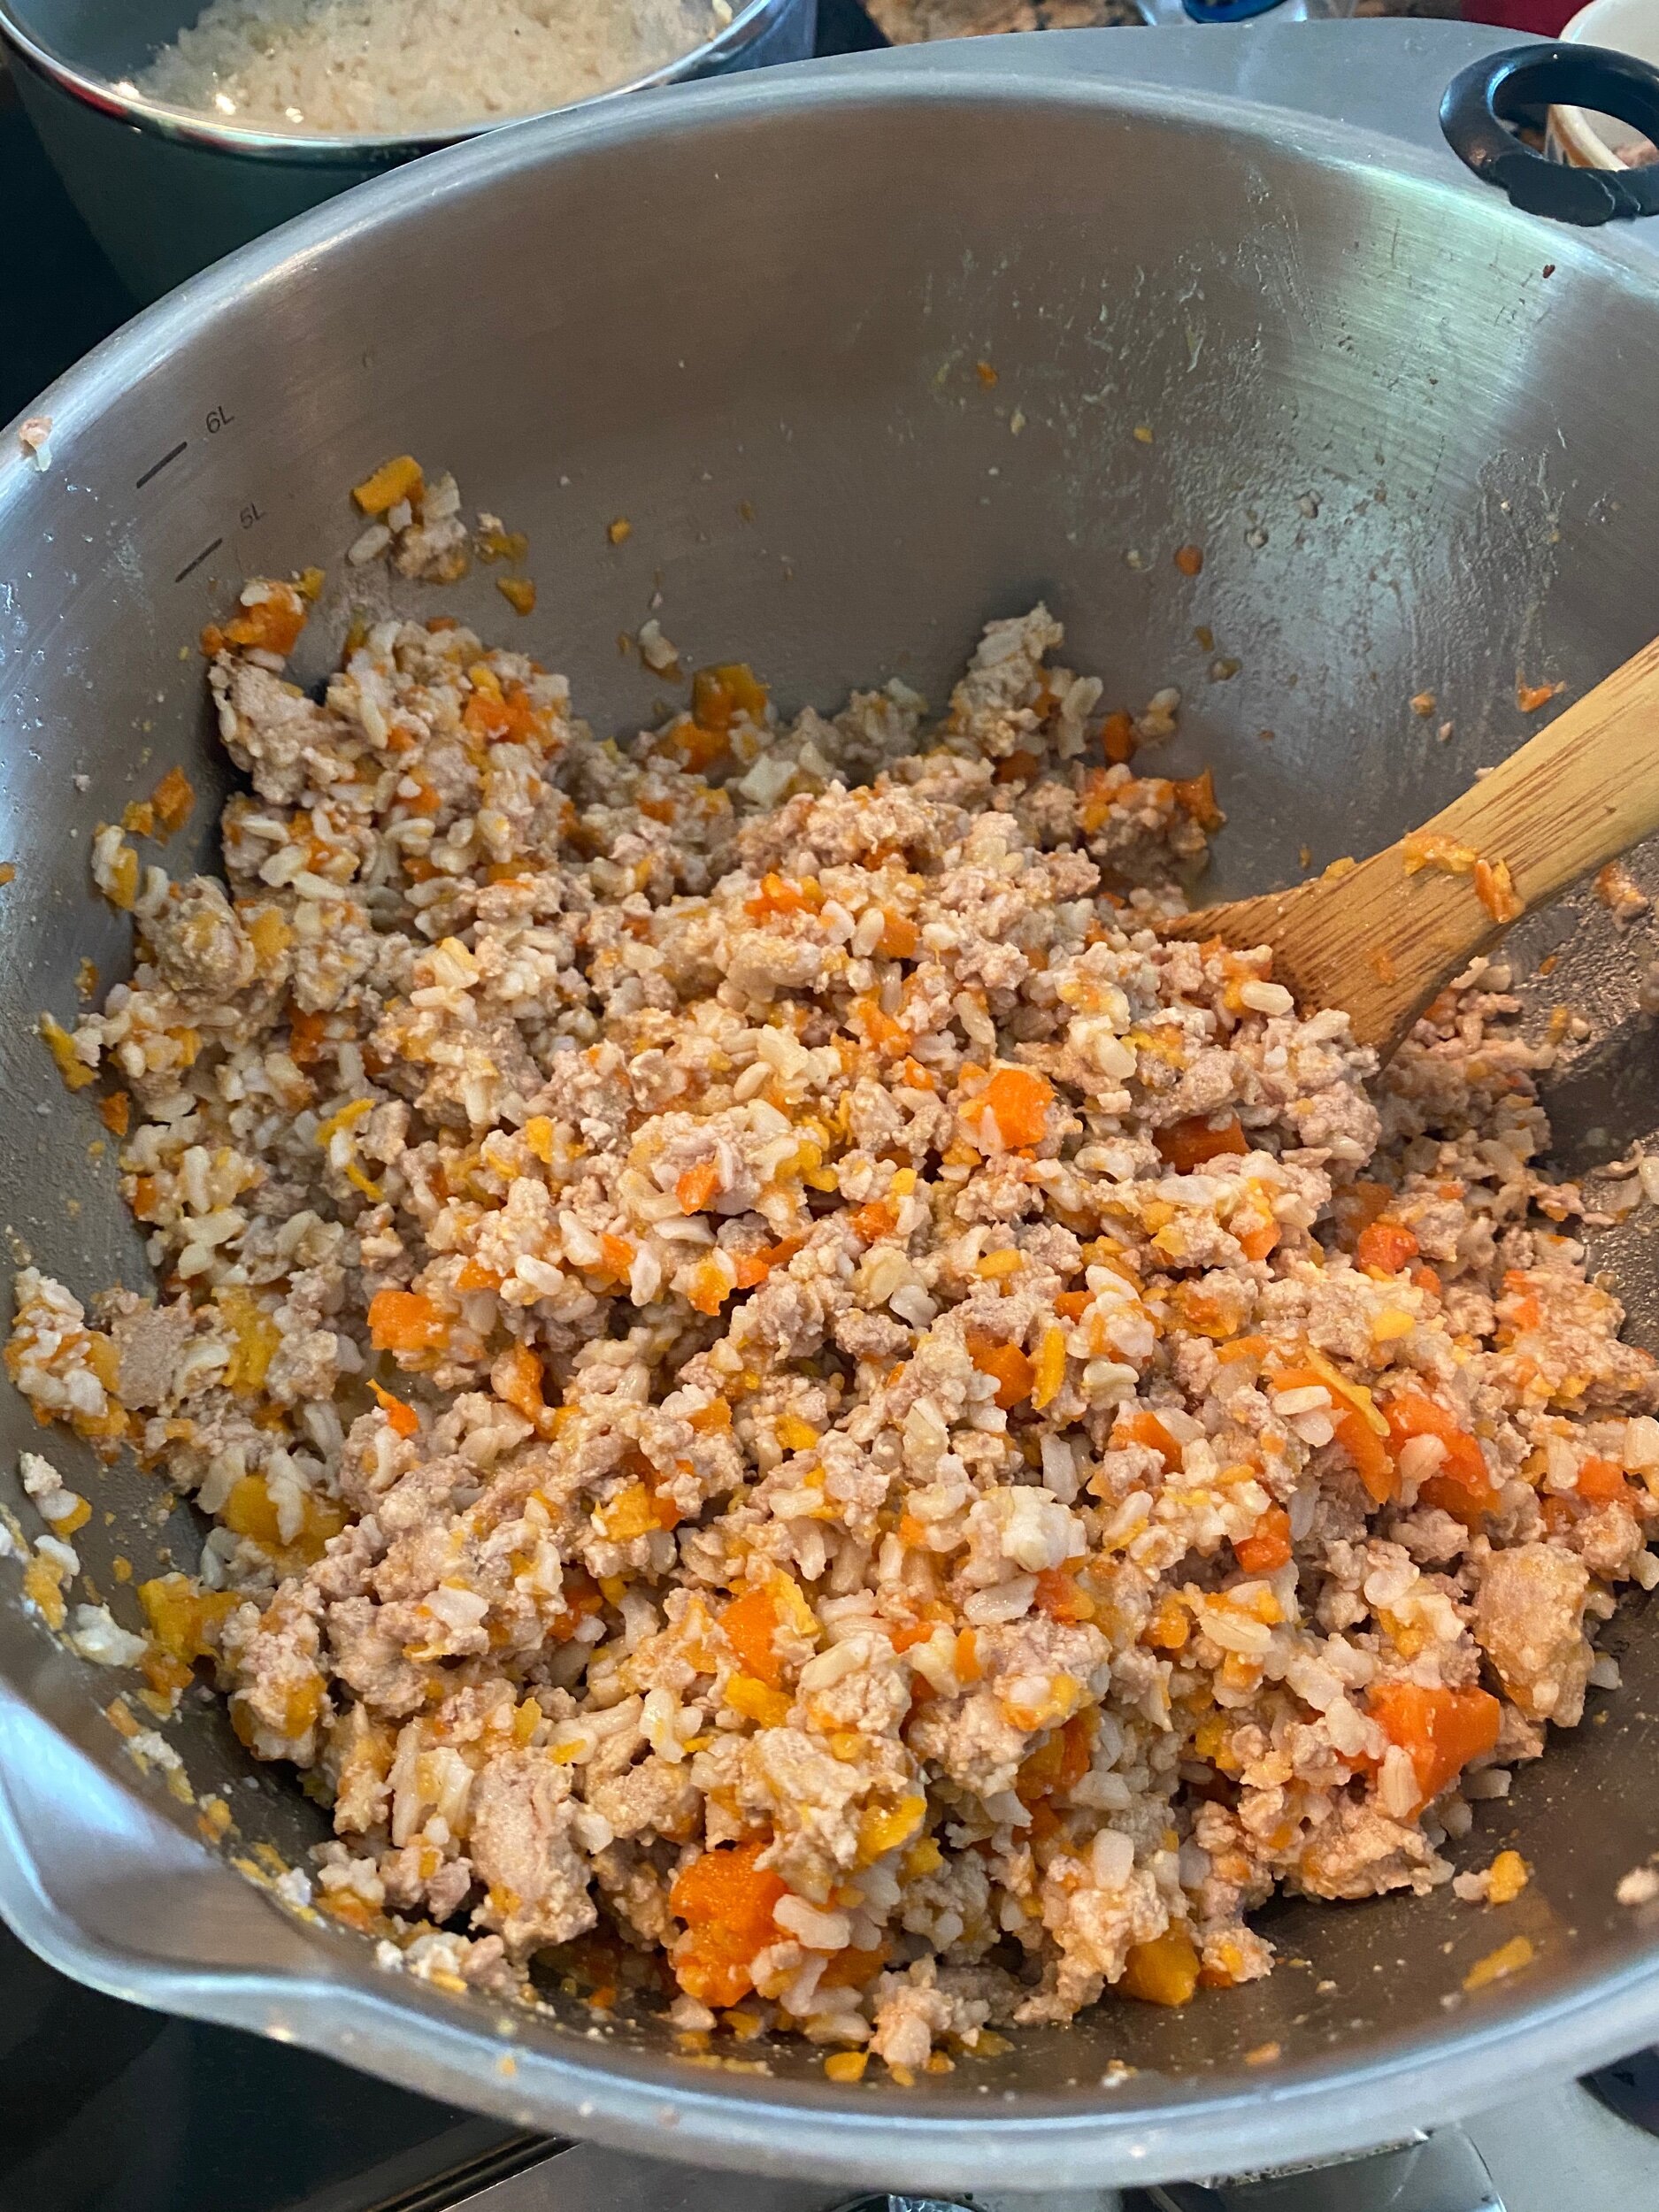
- Add 3 cups of cooked brown rice to the bowl and stir to combine.
- Add enough water to stay moist. You may want your wet food wetter or dryer, just adjust according to your dogs liking.
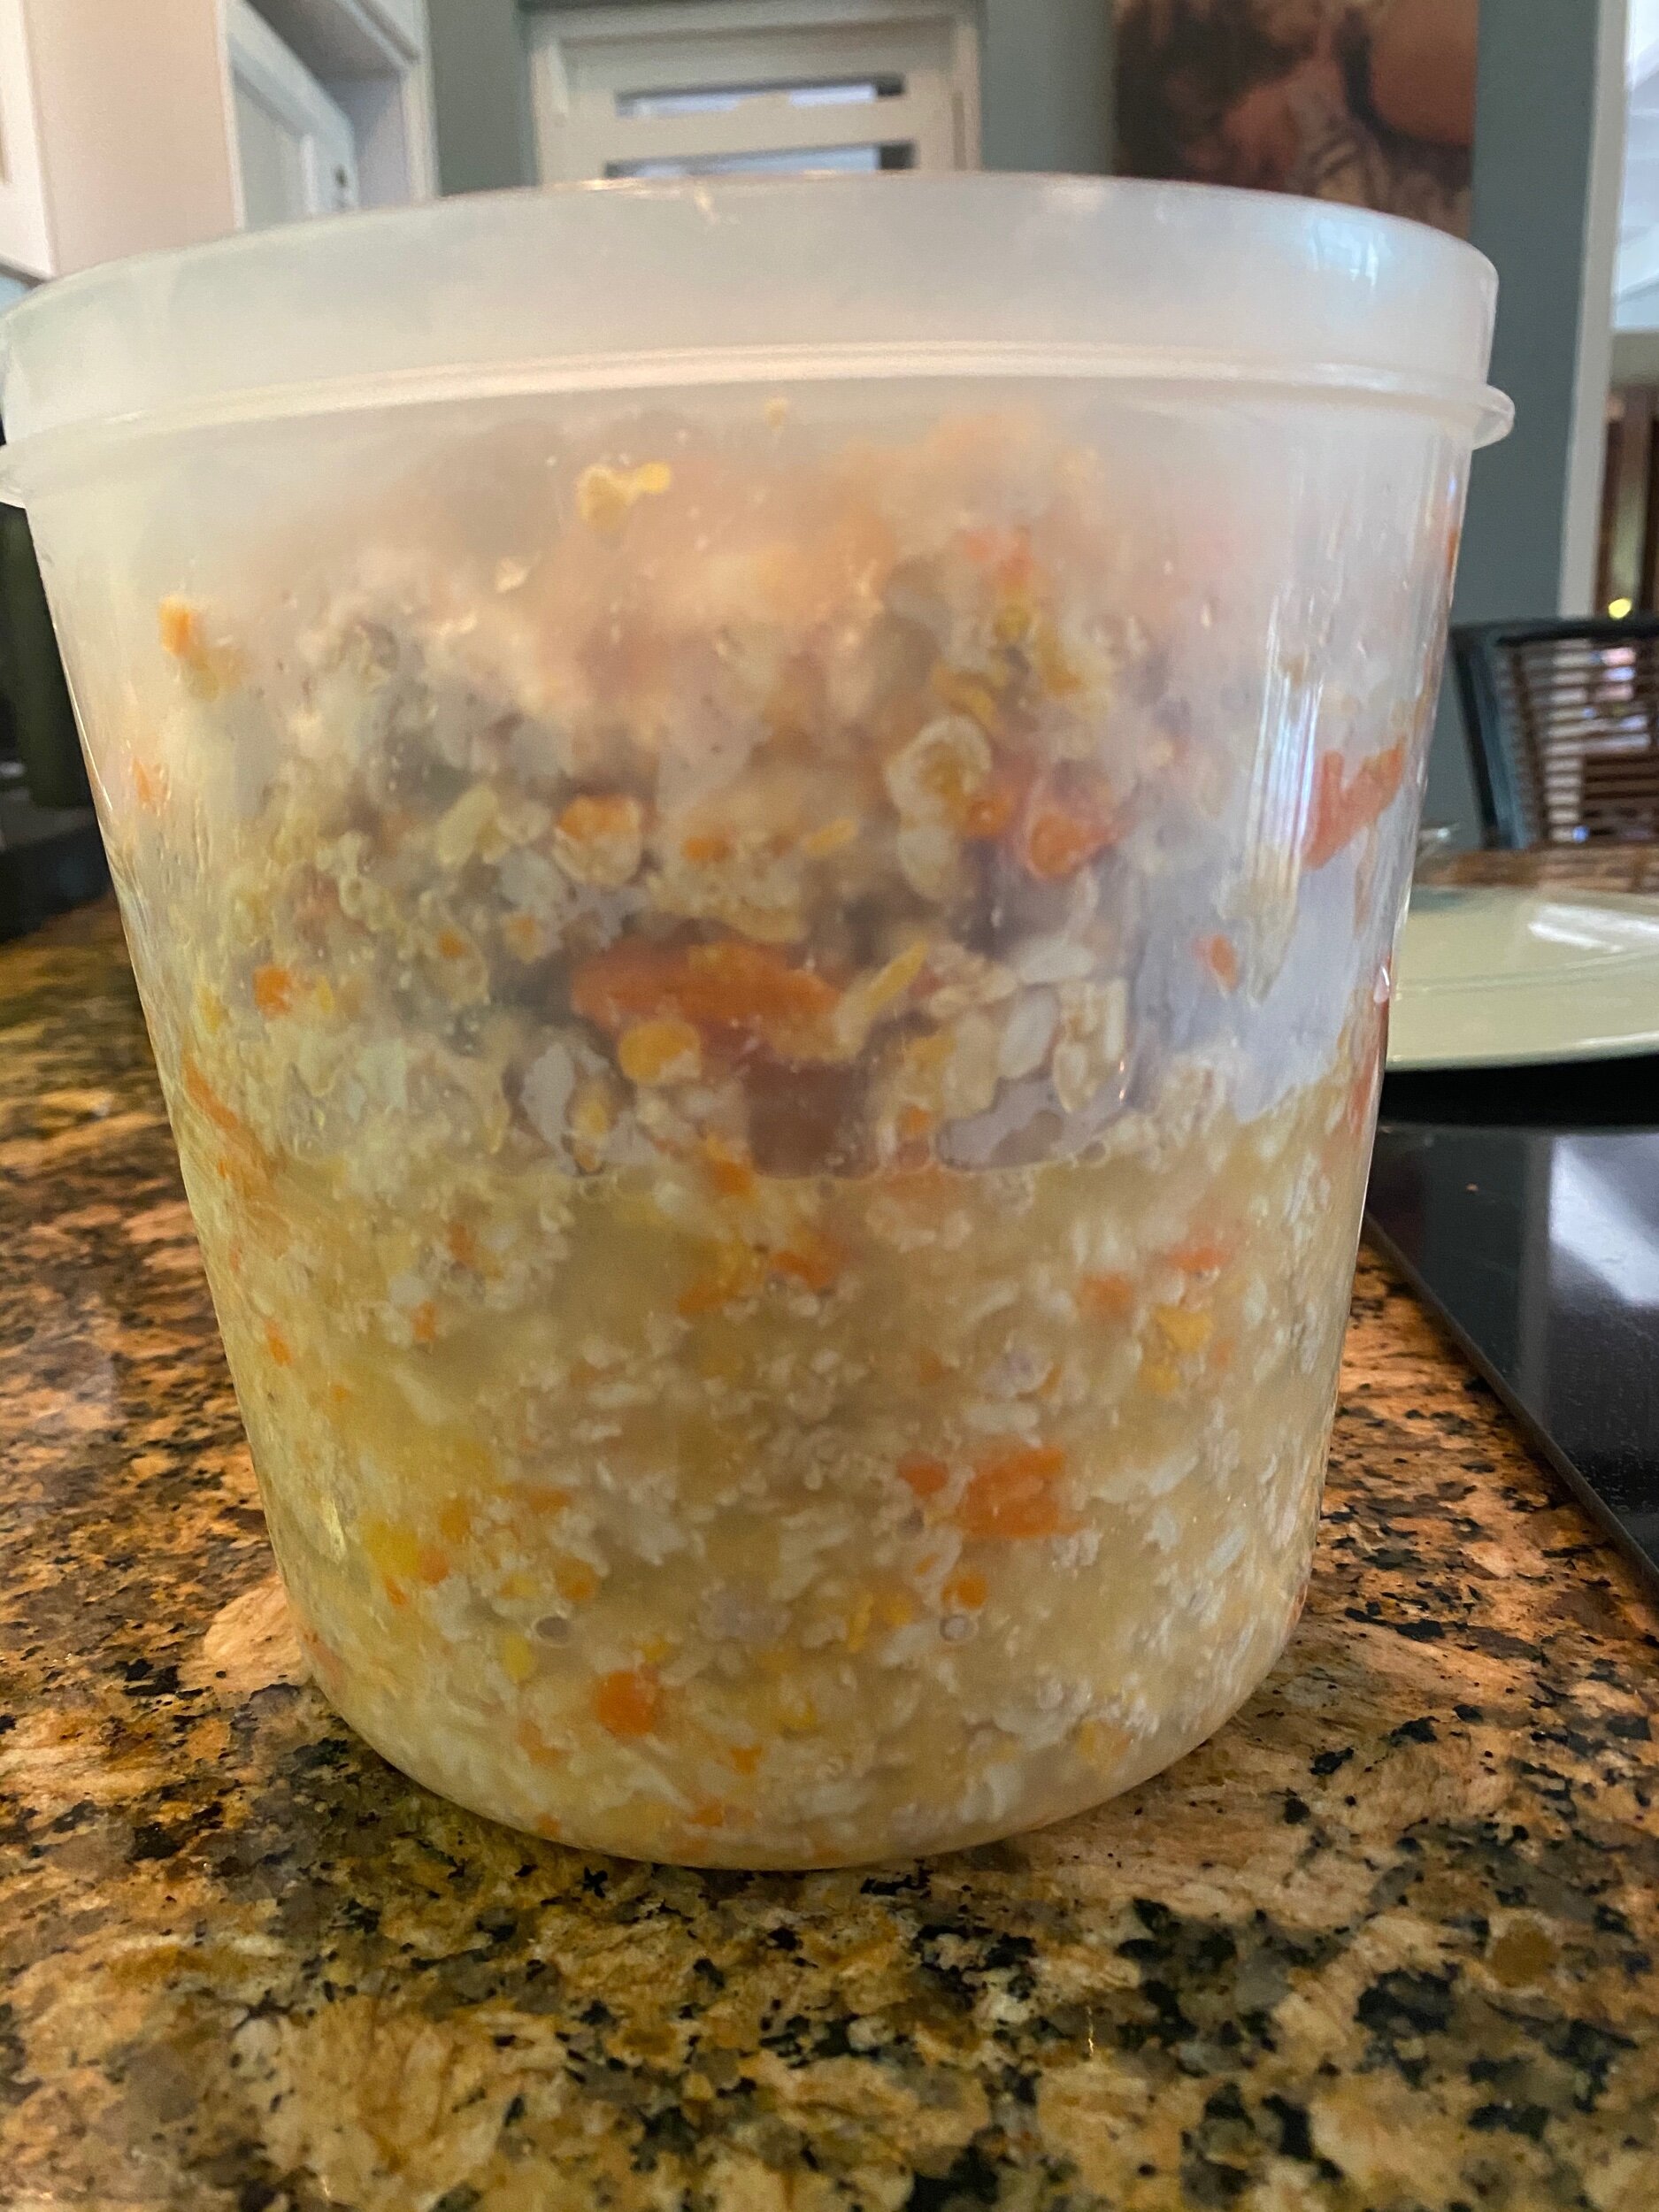
- Store in the fridge in an airtight container for up to 6 days or portion into individual servings and freeze for up to 3 months. Defrost individual portions in the fridge 24 hours before serving and microwave if necessary.
Calories
421.78Fat (grams)
25.73Sat. Fat (grams)
8.80Carbs (grams)
14.84Fiber (grams)
1.58Net carbs
13.26Sugar (grams)
0.86Protein (grams)
32.52Sodium (milligrams)
117.00Cholesterol (grams)
131.13Step-By-Step Instructions
Ingredients:
3 lbs of ground turkey
3-4 medium carrots
1 small sweet potato
3 cups cooked brown rice (cook according to your brand. I linked a similar brand)
Water
3 TBS Coconut oil (i linked a similar brand)
Tools:
Large Frying Pan, Knife and Cutting Board, Pot and Lid, Large Spoon, Large Bowl, Potato Masher or Fork, 2.8 Qt. or larger Storage Container, Béaba Baby Cook (optional)
Directions
Step One:
Start your brown rice according to your package using only water. (Do not add any salt or butter as suggested by the package). I will add at least ¼ to ½ cup more water than the package requires to make the rice softer for the dogs.
Step Two:
Add coconut oil to a large skillet over medium-high heat. Add ground turkey and cook through breaking up any large pieces as you cook.
Step Three:
While turkey is cooking, peel and dice your carrots and sweet potatoes.
Step Four:
Remove cooked turkey from pan along with juices and place in a large bowl. Using the same pan the turkey was cooked in, add the carrots and sweet potatoes and add enough water to cover. Bring the vegetables to a boil, and then simmer until soft (around 12-14 minutes). If you have a Béaba Baby Cook, you can also use it to cook your vegetables. (I’m so glad I put this on my baby shower registry, as it continues to be useful even after the baby food stage).
Step Five:
Using a potato masher, smash the vegetables into smaller pieces. If you have a Béaba Baby Cook, you can do a slight puree using the blender option. Add to the large bowl containing the turkey. This should be about 1.5-2 cup vegetables.
Step Six:
Add 3 cups of cooked brown rice to the bowl and stir to combine.
Step Seven:
Add enough water to stay moist. You may want your wet food wetter or dryer, just adjust according to your dogs liking. Mix well.
Step Eight:
Store in the fridge in an airtight container for up to 6 days or portion into individual servings and freeze for up to 3 months. Defrost individual portions in the fridge 24 hours before serving and microwave if necessary. I found a container at our grocery store, but this OXO one is great too. You can find it here. (These are great for island living, as they keep the bugs out!)
THIS IS A GREAT ACTIVITY FOR KIDS TO LEARN KITCHEN SKILLS, NO MATTER HOW YOUNG
My Toddler loves making dog food. He helps by pouring the measuring cups of food and liquid, throwing away food scraps, overseeing mom cook the vegetables, and stirring the final product. He’s also a great taste tester (and this becomes his snack or lunch for that day). My Teen also feels accomplished when she makes this food with out supervision. She is practicing knife and measuring skills, and safe cooking procedures. It’s a chore she enjoys to do. Never thought I would say chore and enjoy in a sentence together, but here you go! Motherhood is weird.
Orion enjoying his duty as taste tester.
I hope your dogs enjoy this food as much as ours do!
And if you If you like what you read today, please share!
Disclaimer: Any information given in this post is from my own experience and is not to be taken as medical advice. Please contact your veterinarian to discuss changes to your dog’s diet prior to starting a new feeding regimen.
